If your recliner chair has lost its bounce or makes an unsettling creaking noise, the springs are likely the culprit. Fortunately, repairing or replacing recliner chair springs is a manageable DIY project that can extend the life of your favorite chair. This guide will walk you through the process, covering common spring types and the tools you’ll need to restore comfort and stability to your recliner.
Identifying Common Recliner Spring Types
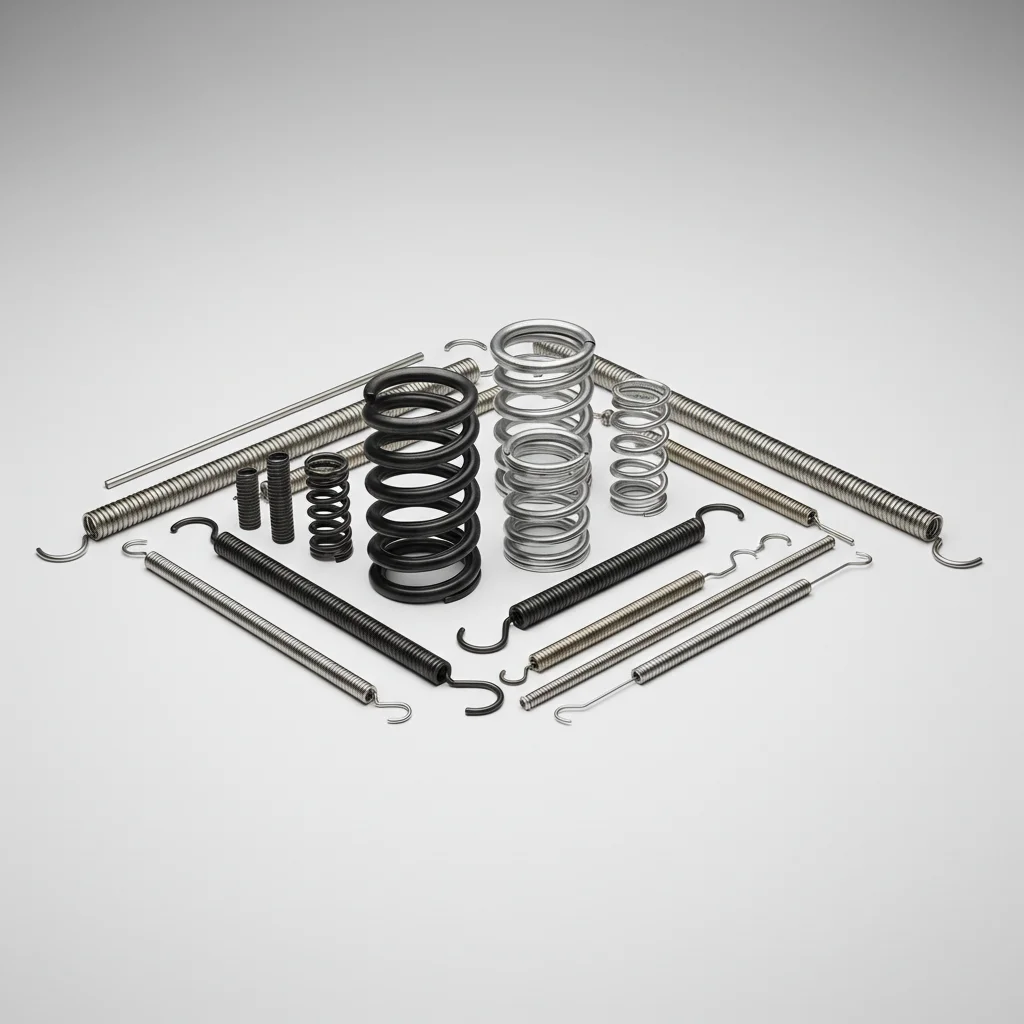
Recliner chairs typically use one of two main spring types: sinuous (or zig-zag) springs and coil springs. Sinuous springs are S-shaped wires that run from front to back across the chair frame, offering broad support. Coil springs, on the other hand, are individual helical springs often found in older or higher-end recliners, providing more localized support. Understanding which type your recliner uses is the first step in a successful repair.
Before you begin, carefully inspect the underside of your recliner. You may need to remove a dust cover, usually attached with staples or screws, to gain full access to the spring mechanism. Look for broken, stretched, or detached springs, as these are the primary reasons for discomfort and instability.
Tools and Materials for Spring Repair
For most recliner spring repairs, you’ll need a basic set of tools. These include pliers (needle-nose and regular), a staple remover or flathead screwdriver, a staple gun (manual or electric), and replacement springs. Depending on the extent of the damage, you might also need hog ring pliers and hog rings, especially if your springs are attached with these fasteners. Always prioritize safety by wearing gloves and eye protection.
- Needle-nose and regular pliers
- Staple remover or flathead screwdriver
- Heavy-duty staple gun and staples
- Replacement sinuous or coil springs
- Hog ring pliers and hog rings (if applicable)
Step-by-Step Guide to Repairing Sinuous Springs
|
Our Picks for the Best Recliner Chair in 2026
As an Amazon Associate I earn from qualifying purchases.
|
||
| Num | Product | Action |
|---|---|---|
| 1 | Plush Linen Fabric Massage Rocker Recliner Chair Oversized Design with Manual Massage and Heat Two Cup Holders and USB Port for Living Room (Blue) |

|
| 2 | Garvee Elertric Recliner Chair with Memory Function PU Leather, Adjustable Single Recliners Sofa with Remote Control for Adults, Home Theater Seating &Armchair for Living Room/Office |
|
| 3 | Power Recliner Chair for Adults with Massage and Heat, Swivel Oversized Leather Recliner Chair with USB Ports & Side Pockets for Living Room (22" Medium-Seat Width,Gray) |
|
| 4 | Signature Design by Ashley Foreside Contemporary Nuvella Manual Rocker Recliner with Head-Neck Support and Pillow-Top Arms, Gray |
|
| 5 | Garvee Elertric Recliner Chair with Memory Function Adjustable Single Recliners Sofa with Remote Control for Adults, Home Theater Seating &Armchair for Living Room/Office (Light Khaki, Fabric) |
|
| 6 | Recliner Chair,Electric Adjustable Chenille Recliner with Remote Control and Padded Backrest,Home Theater Recliner Single Sofa Seat with Thick Seat Cushion for Living Room Bedroom (Grey) |
|
| 7 | MAXYOYO Accent Chair with Ottoman Adjustable Backrest, Tufted Living Room Chair Upholstered Lounge Chair with Footrest Set, Modern Chair Cozy Reclining Chair for Reading Room, Green |
|
| 8 | Lazy Chair with Ottoman, Large Dark Grey Accent Chair with Ottoman, Comfy Reading Armchair, Leisure Sofa Chair for Living Room, Bedroom, Dorm Room, Office |
|
| 9 | Tiita Lazy Chair with Ottoman, Gray Modern Large Accent Chair, Comfy Leisure Sofa Armchair with Ottoman, Reading Chair with Footrest for Bedroom, Living Room, Dorm Rooms, Garden Dark Grey |
|
| 10 | MCombo Dual Motor Large Power Lift Recliner Chair for Elderly, Lay Flat Lift Chair with Heat and Massage, Big Lift Recliner for Tall People, Cup Holders, Fabric 7896 (Large, Dark Gray) |
|
Repairing sinuous springs often involves reattaching them to the frame or replacing a broken one. If a spring has detached, use your pliers to bend the end back into shape if necessary, then reattach it to the spring clip or wooden frame using new staples or hog rings. Ensure the spring is taut but not overly stretched. For a broken sinuous spring, you’ll need to remove the old one completely by prying out its fasteners. Measure the length of the old spring to ensure you purchase a suitable replacement. Once the new spring is in place, secure both ends firmly to the frame.
It’s crucial to ensure all springs are evenly tensioned to prevent future issues and maintain consistent support across the seat. Uneven tension can lead to sagging in certain areas and put undue stress on other springs.
Replacing Coil Springs in Your Recliner
Coil springs are typically held in place by fabric webbing or metal clips. To replace a broken coil spring, first, carefully remove the old spring and any remnants of its attachment. You may need to cut away old webbing or pry open metal clips. Measure the height and diameter of the old coil spring to find an exact match. When installing the new coil spring, ensure it is securely fastened to the webbing or clips, mimicking the original setup. If the webbing is damaged, you might need to replace a section of it as well.
Properly attaching coil springs is vital for maintaining the chair’s original comfort and support. Take your time to ensure each spring is upright and firmly secured.
Final Checks and Reassembly
Once all repairs or replacements are complete, gently test the recliner’s seat for evenness and stability. Press down on various sections to ensure there are no soft spots or areas where the springs feel loose. If everything feels secure, reattach the dust cover to the underside of the chair, ensuring it is taut and neatly stapled back into place. This final step protects the internal mechanisms from dust and debris, prolonging the life of your recliner and its newly repaired springs.
Get our weekly buyer guide
Practical specs, not advice. Unsubscribe anytime.